A gift in seedlings and soil
Align your conference swag with your values
Don’t send one more travel mug to the landfill, plant a tree instead.
Every year at conferences, we see more plastic fidget toys or cheap shirts headed for the landfill or the rag pile.


At Project Forest, we want things to be different.
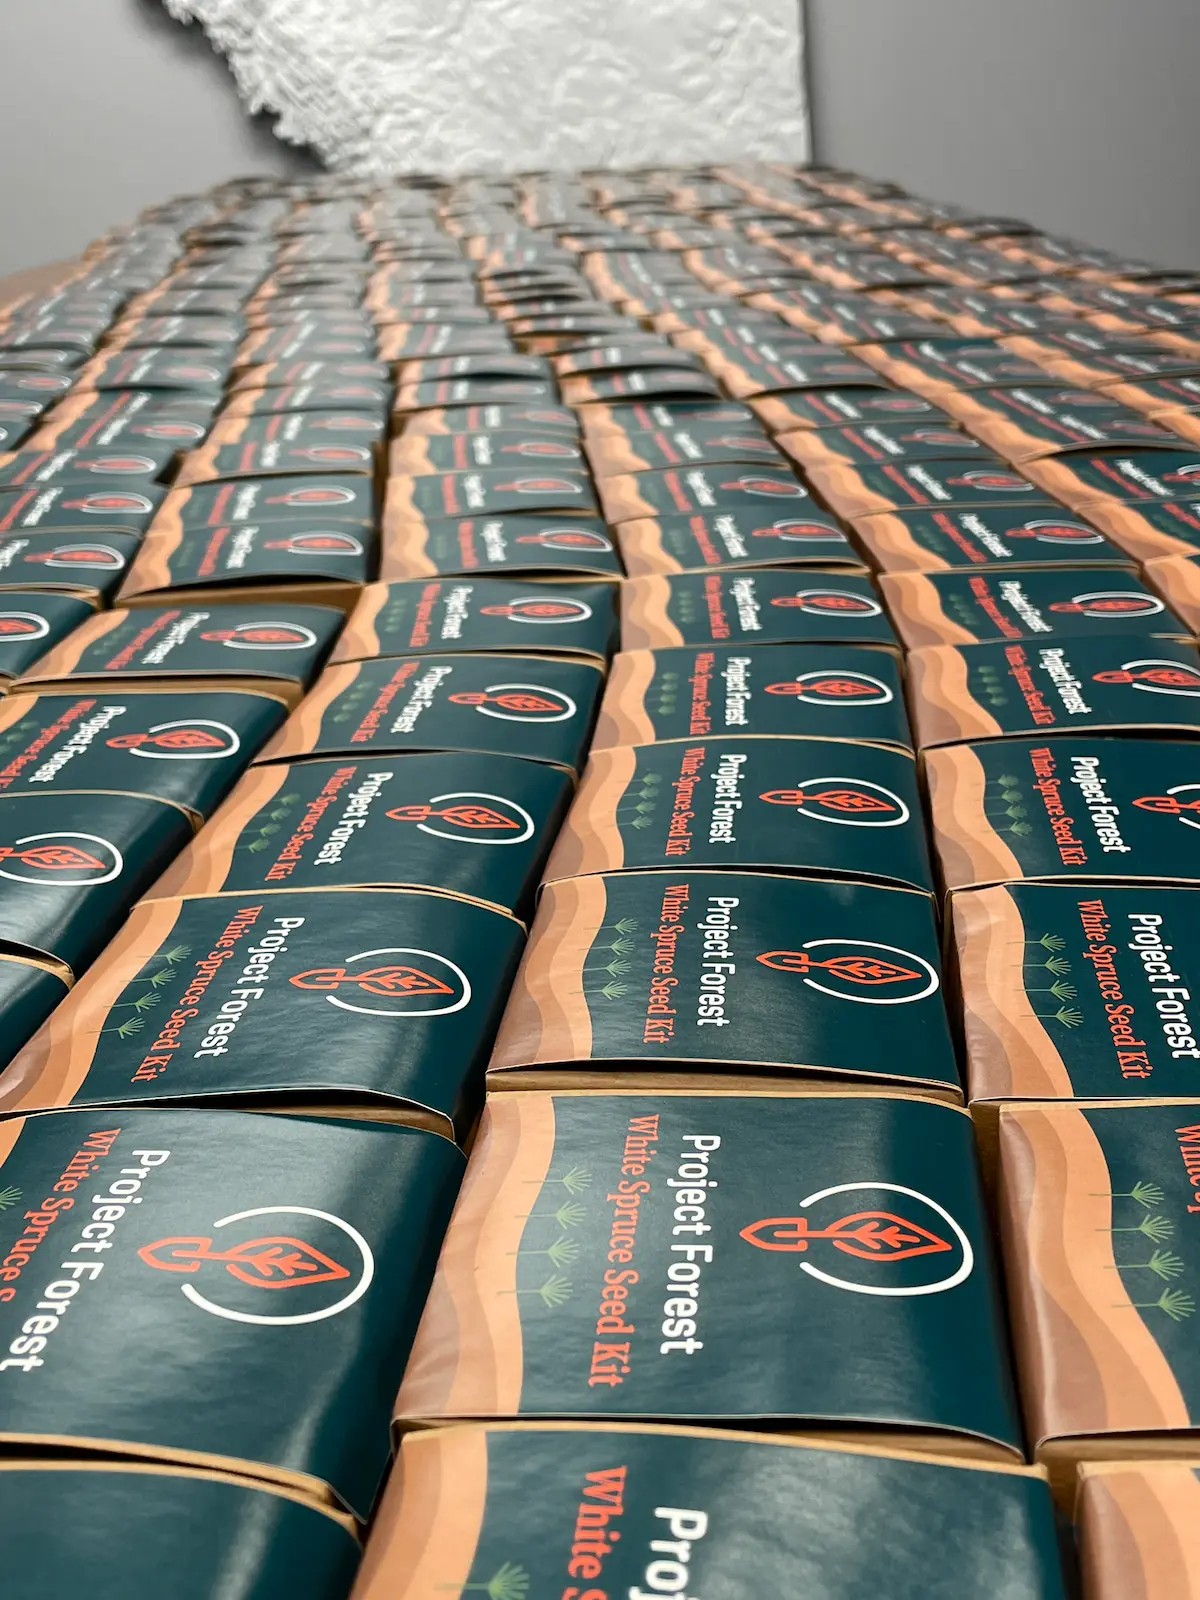
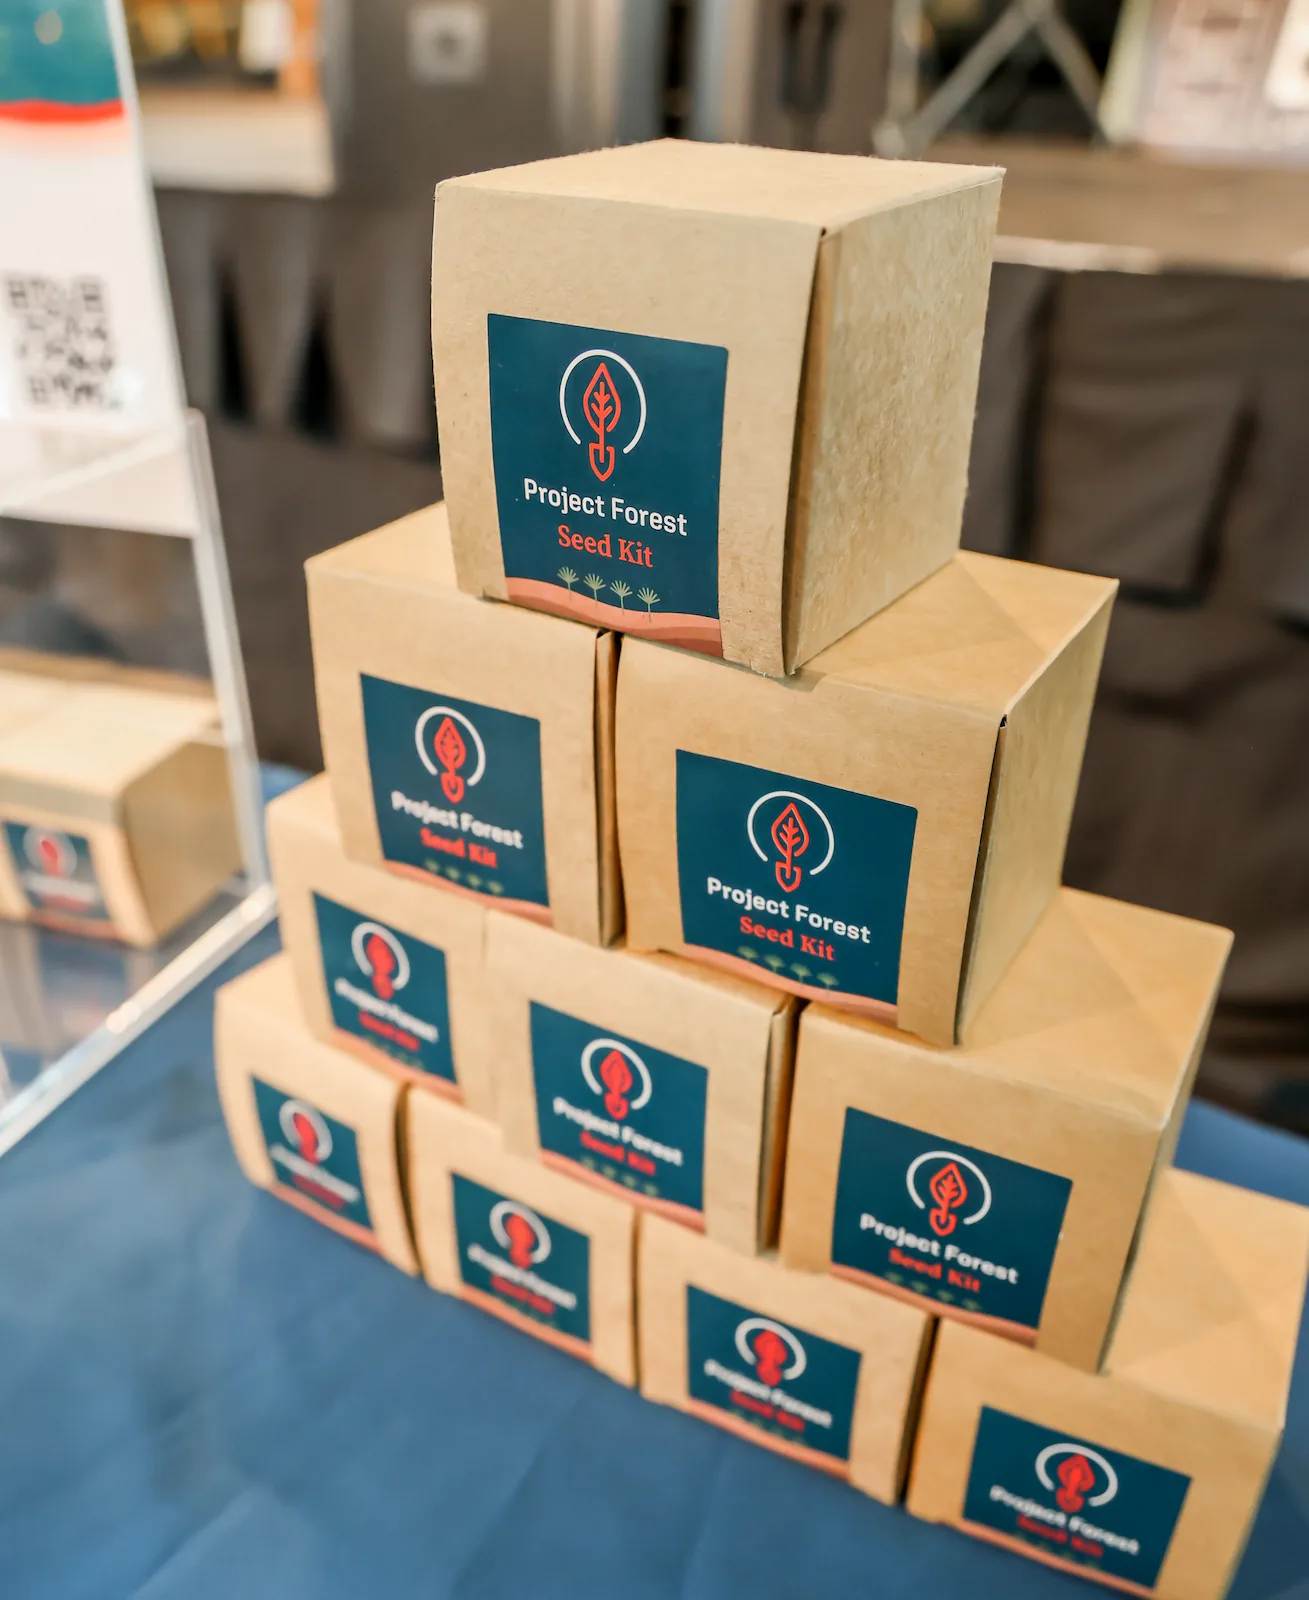
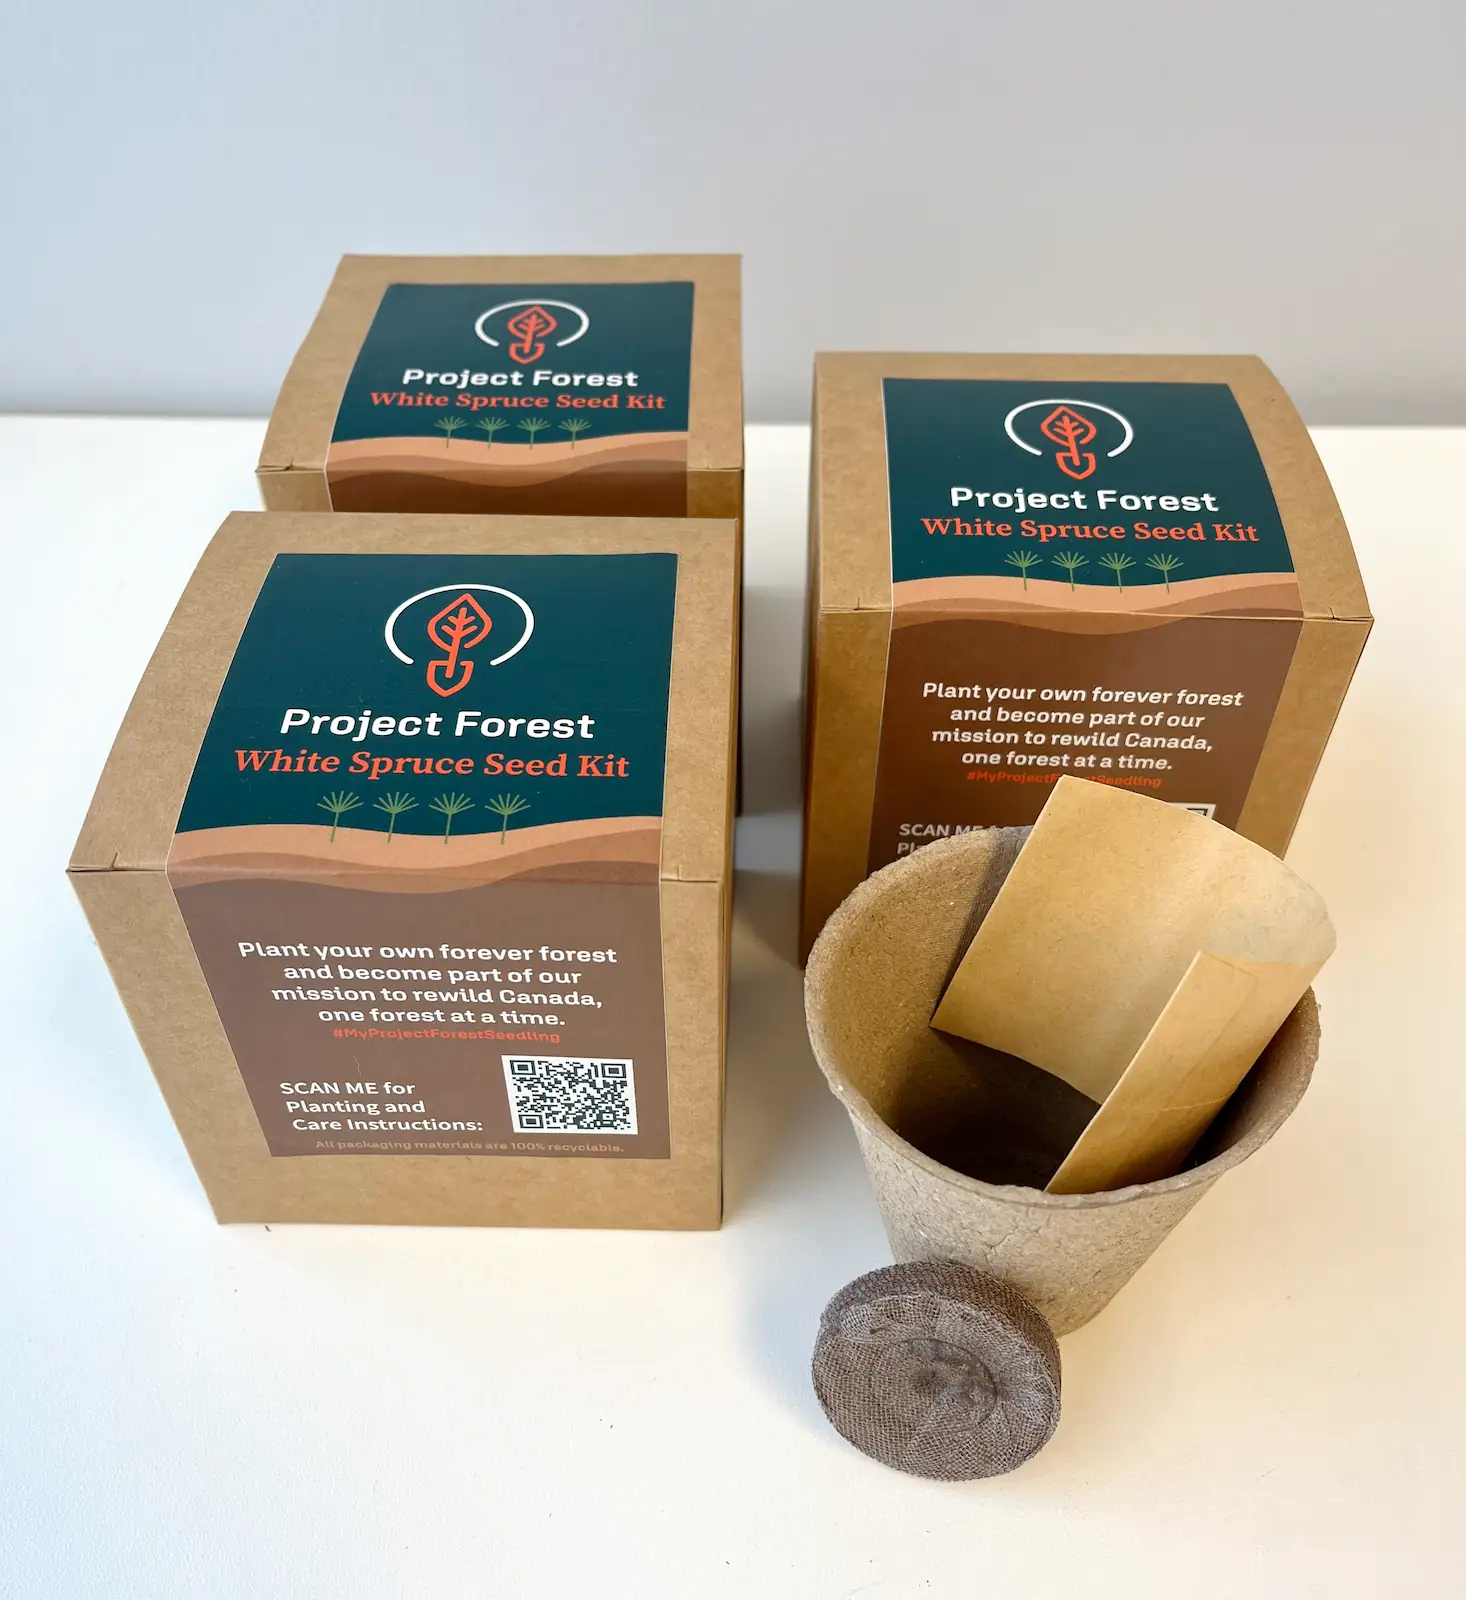
That’s why we created the 100% recyclable Project Forest Seed Kits. A kit with everything you and your customers need to grow your very own tree.
Each Seed Kit contains:
- four locally sourced conifer tree seeds
- one dehydrated peat pod
- one biodegradable peat pot
- 100% compostable and recyclable sticker with a QR code for planting and care instructions.
Ready to make an impact?
Order your seed kits now starting at $3.06 CAD/kit
- We will contact you to confirm your order and payment details
- Your Seed Kits will be delivered directly to your office
Be proud that your company will be part of growing something meaningful.
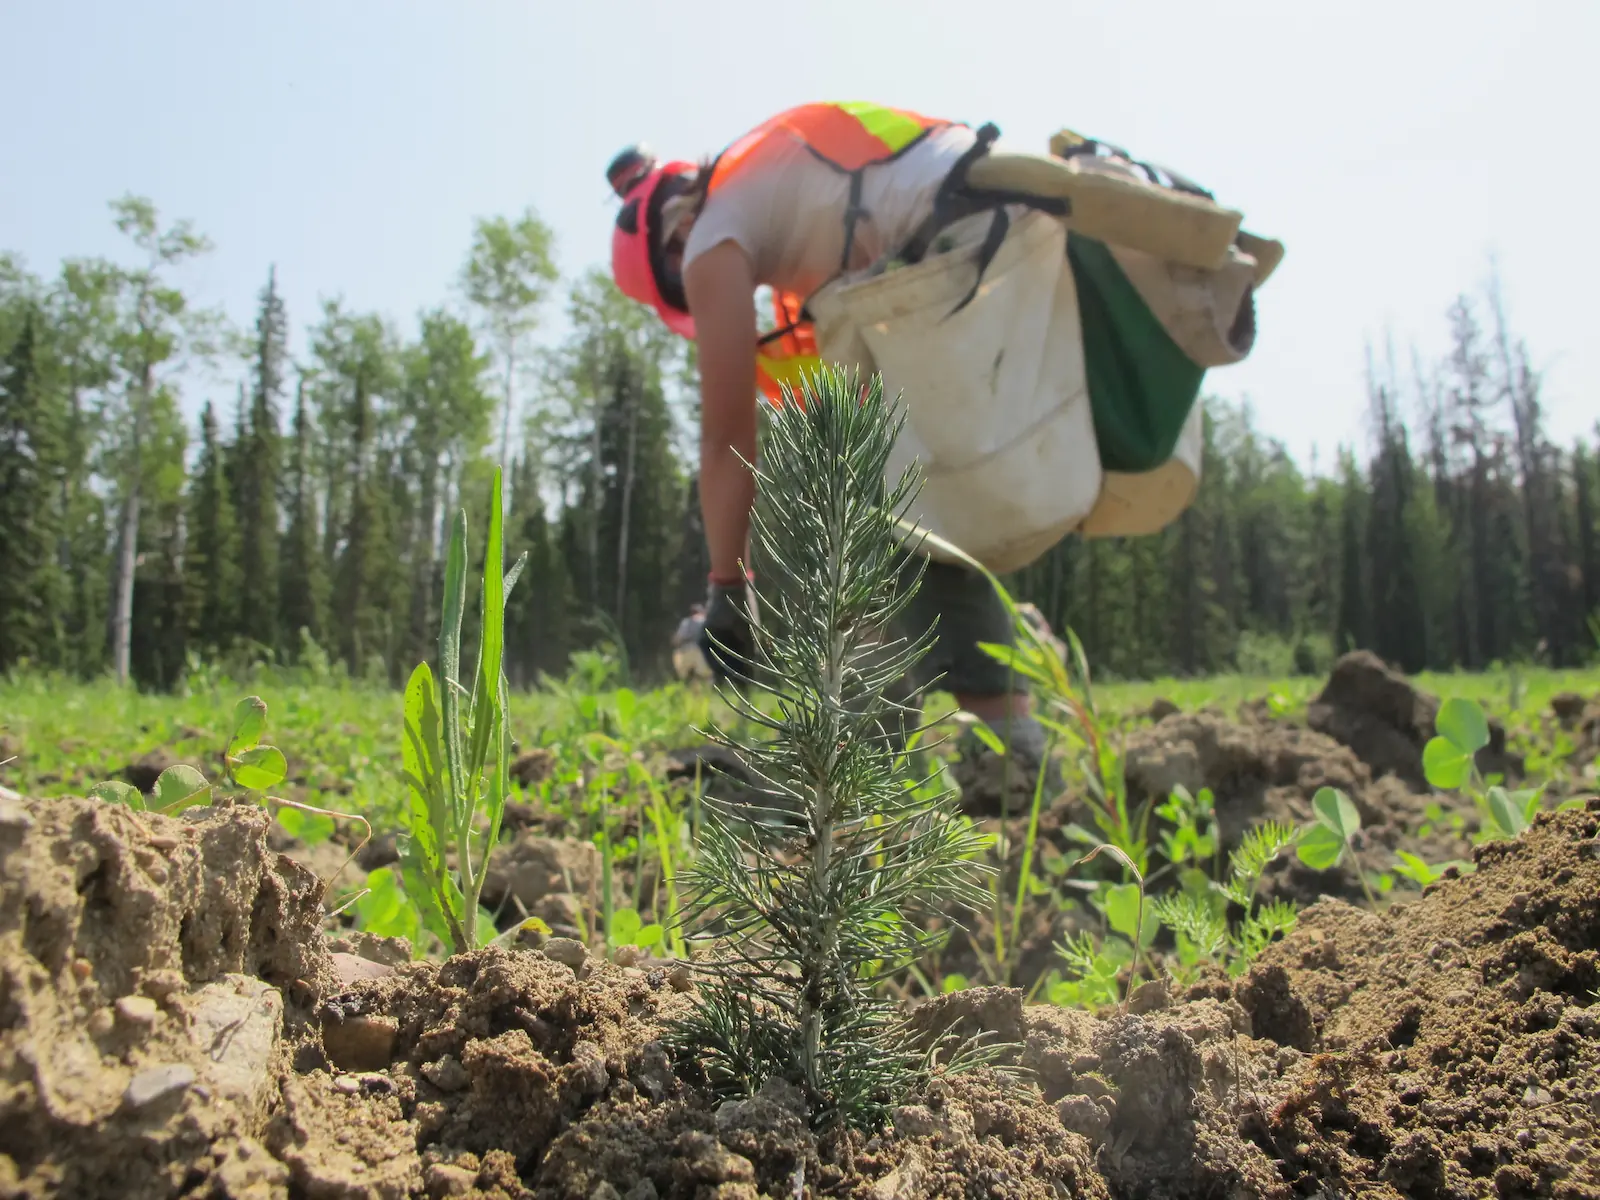
Leaving a Legacy
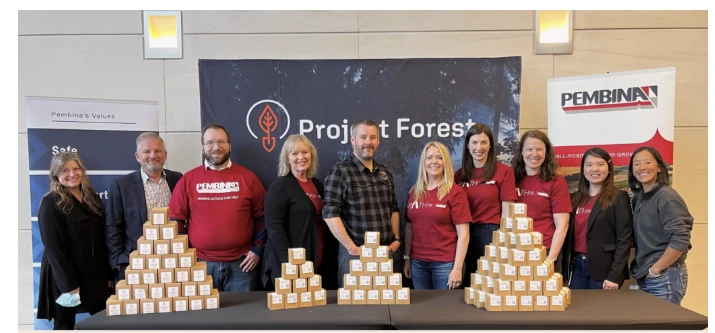
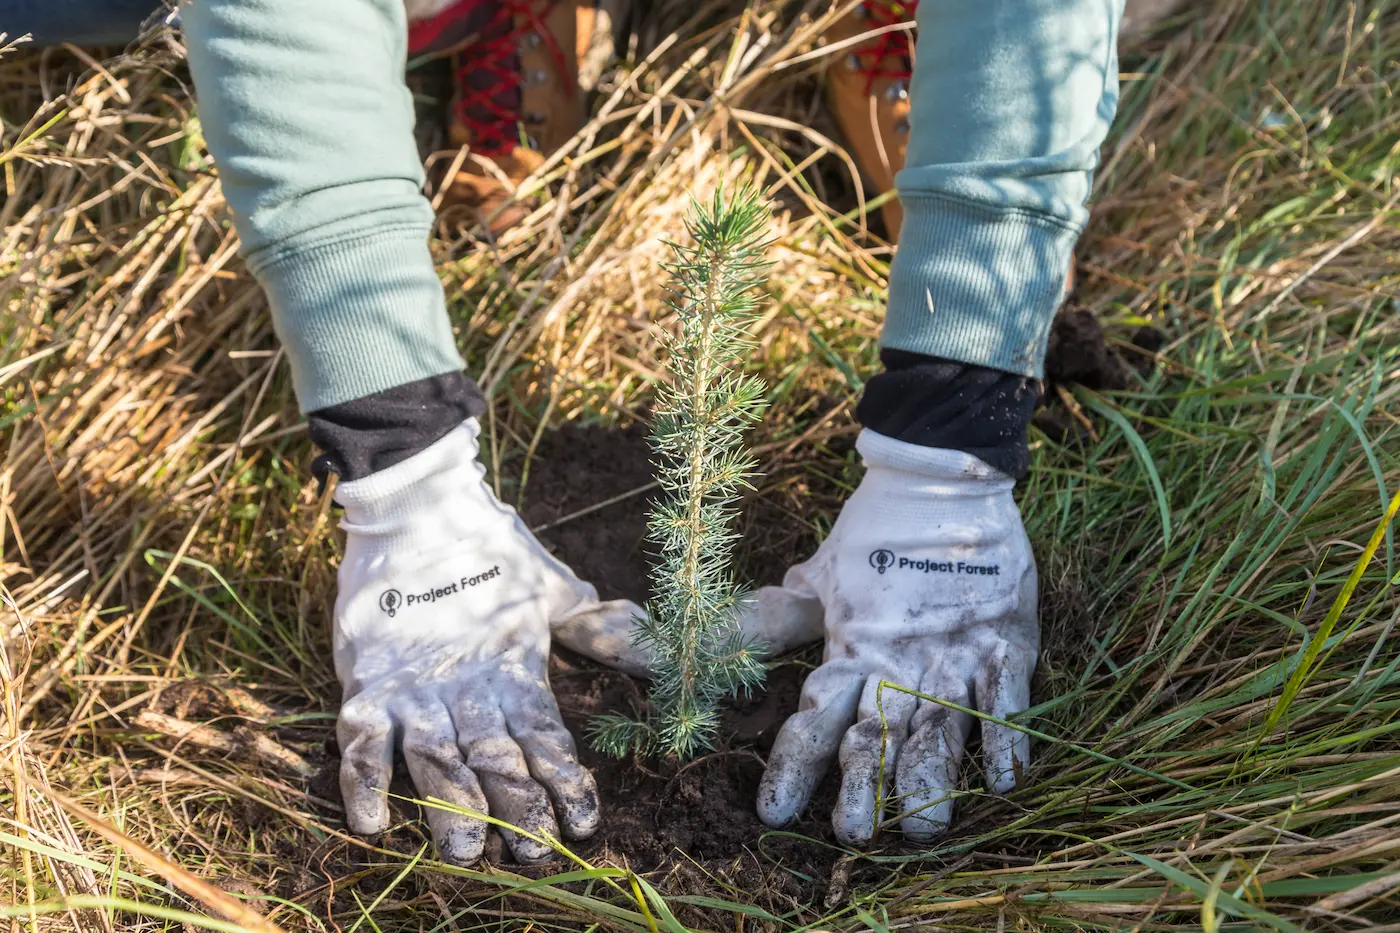
Not only do we partner with organizations and Indigenous communities to plant forever forests, we partner with local high schools to build these Seed Kits.
Every kit purchase results in a donation to programs at the school on behalf of our purchasing partners.
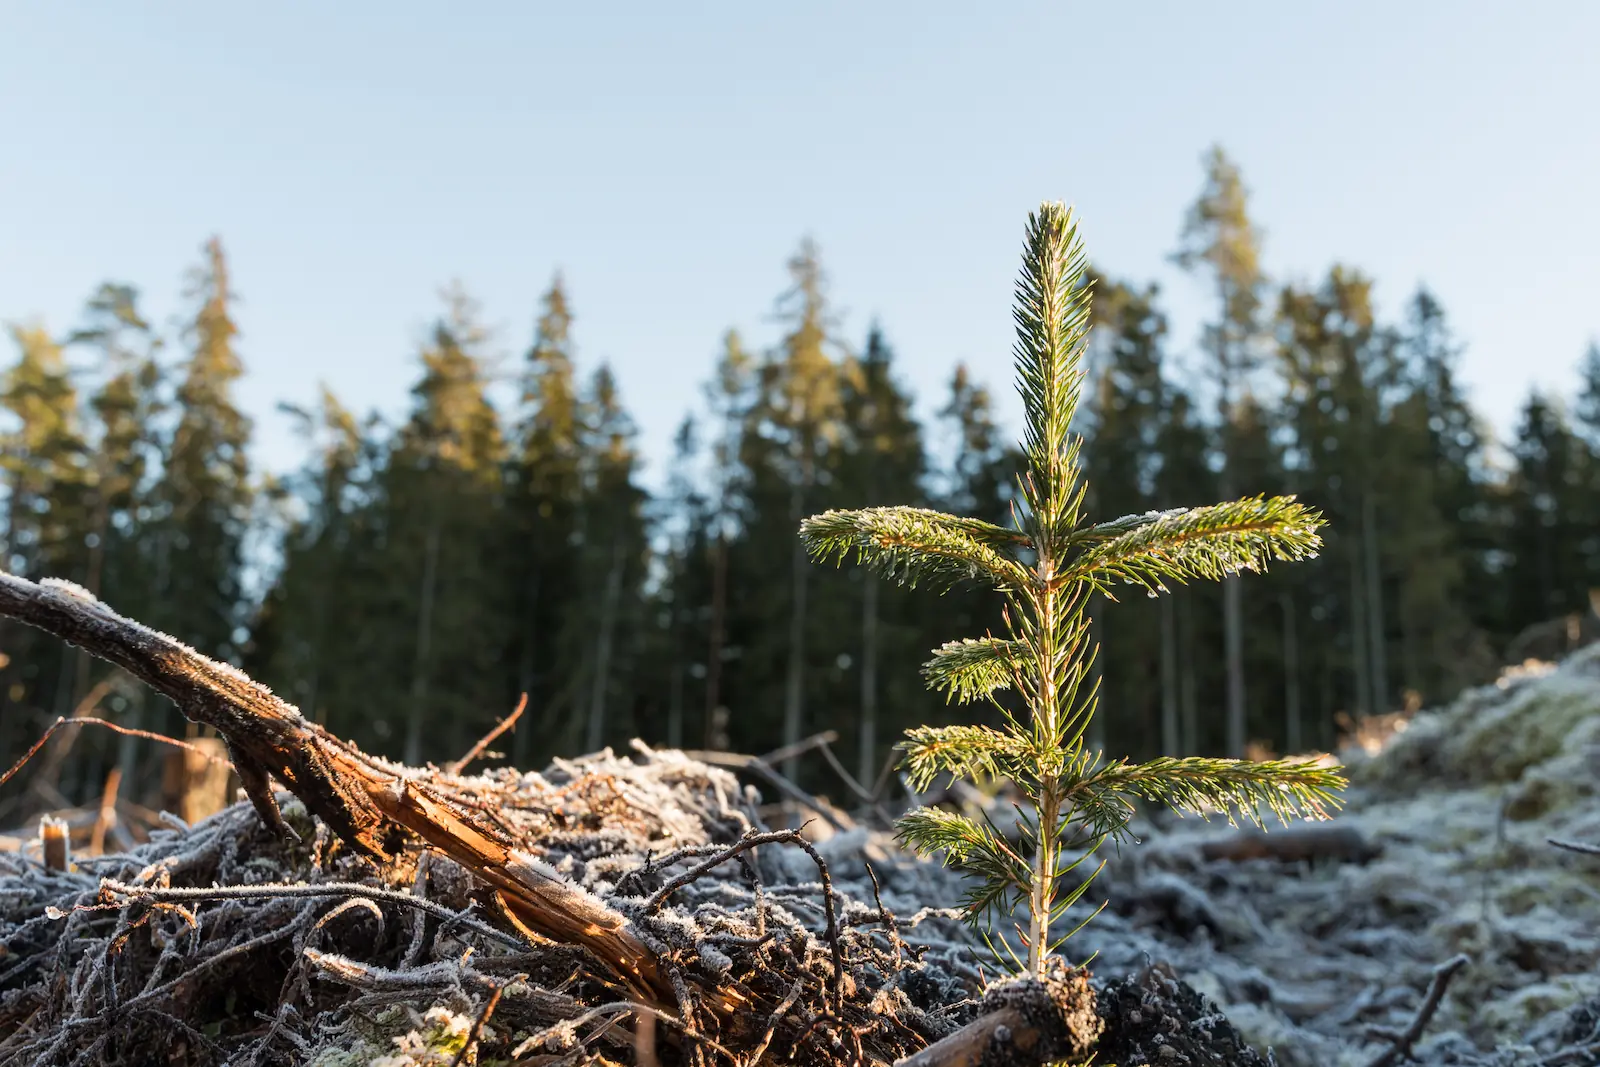
Every towering tree came from a tiny seedling. Just like you, Project Forest is committed to planting a legacy.
Want to go further? Your organization can be a part of planting a forever forest.
Ready to get planting?
Seed Kit Planting Instructions
- 1 paper envelope containing either
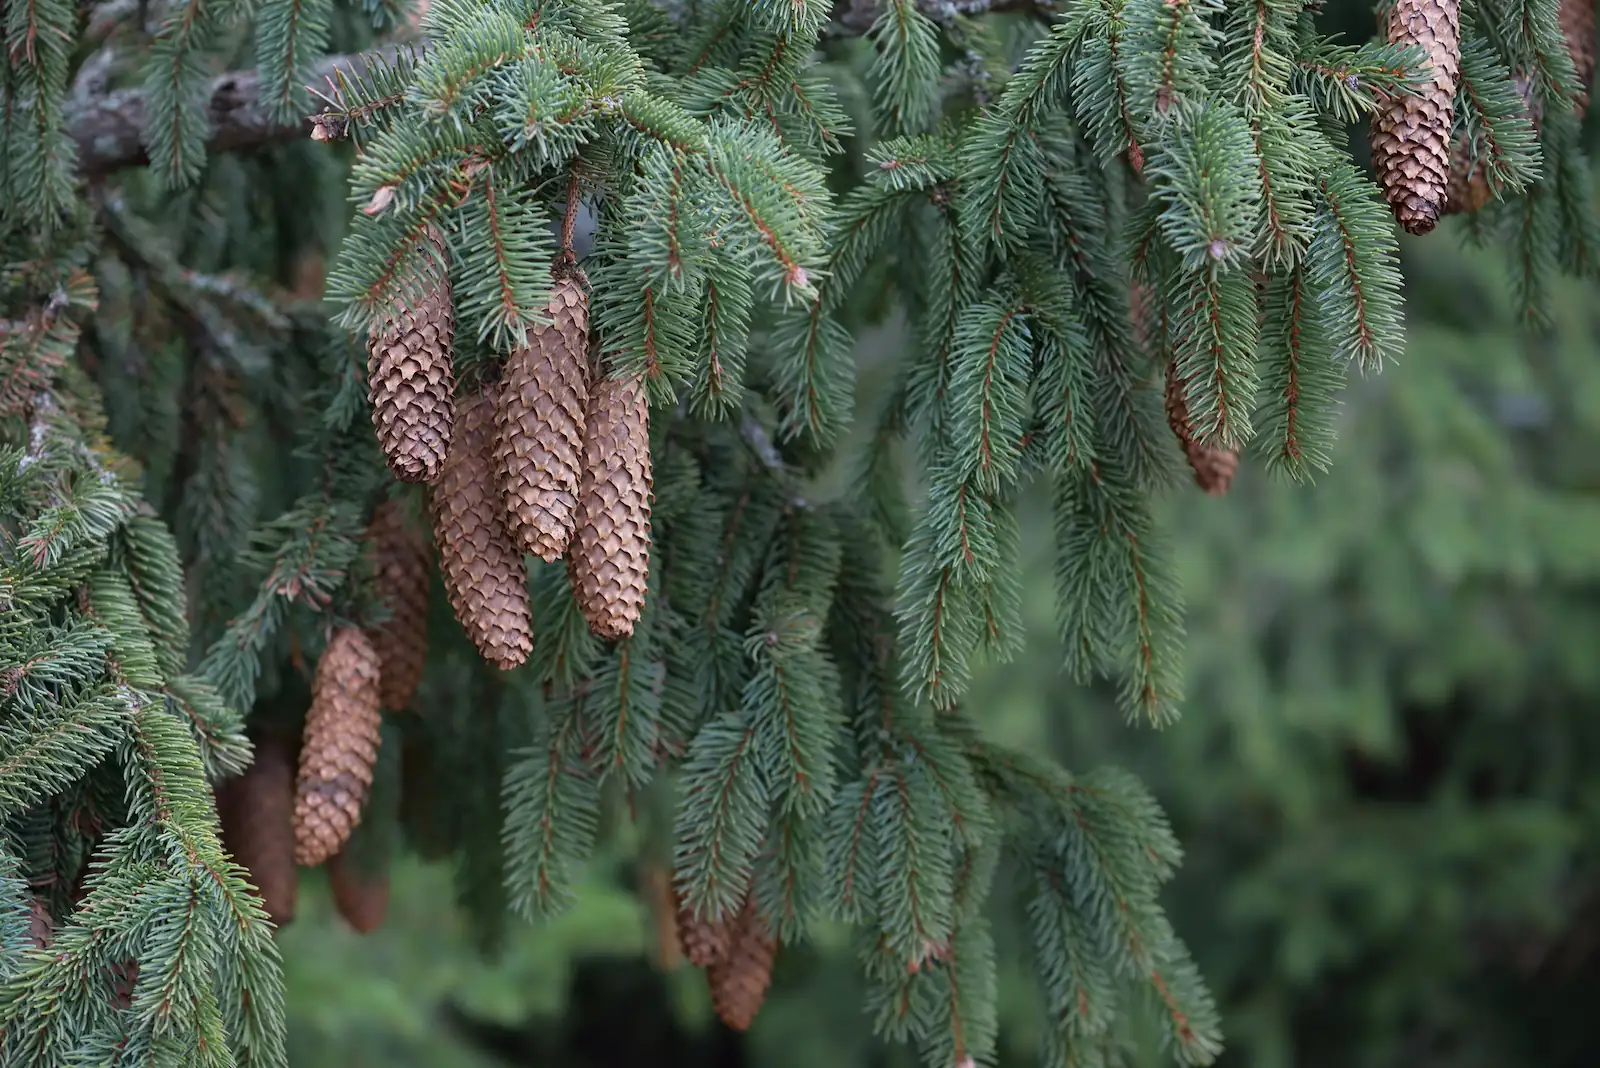
- 4 lodgepole pine (Pinus contorta) seeds, OR,
- 4 white spruce (Picea glauca) seeds
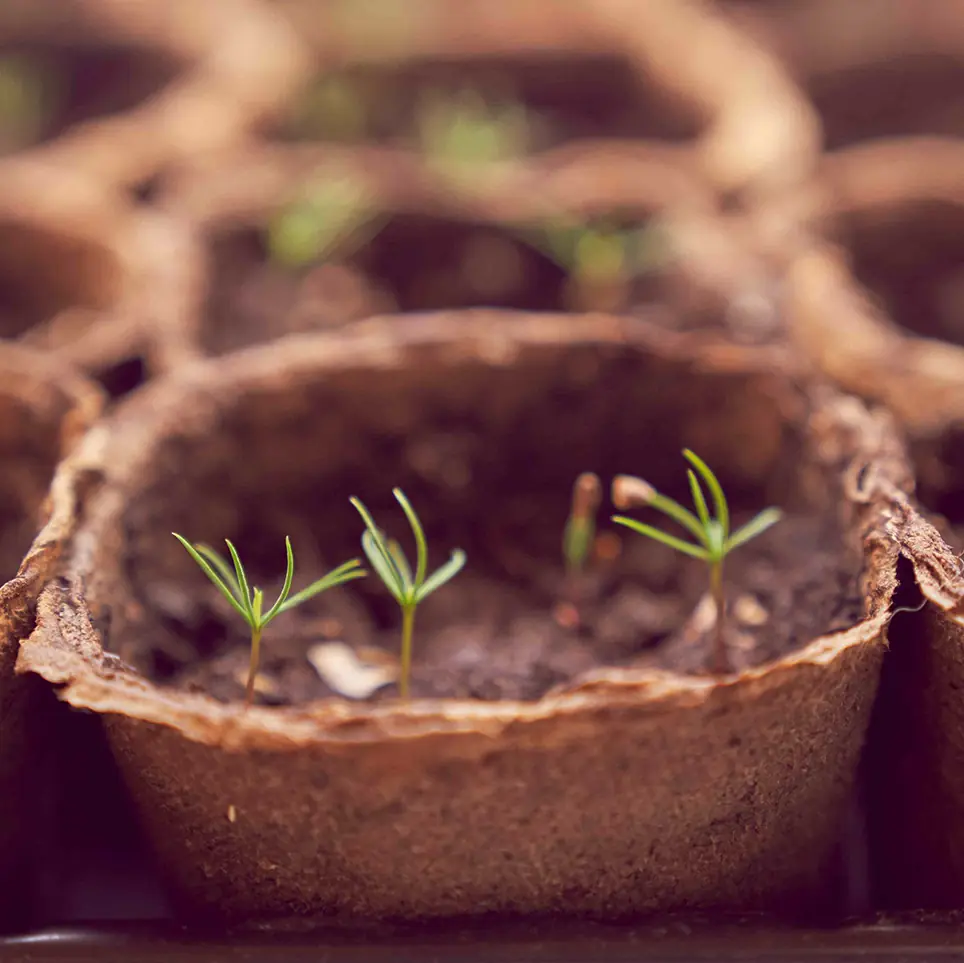
- 1 dehydrated peat pellet
- 1 biodegradable peat pot
We’re going to simulate natural germination conditions for our spruce seeds: the cold, wet spring.
- Soak the seeds in water at room temperature for 24 hours.
- Place them on a wet paper towel inside a plastic bag and store them in your fridge for 21 days. It is important to pay attention to potential mould development. You can protect your seeds against mould by changing the moist paper towel regularly.
- Hydrate Your Peat Pellet.
- After stratification, the 21 days your seeds spent in the fridge, it’s time to prepare your growing materials.
- Place your peat pellet in a dish deep enough to allow it to be submerged in water.
- Pour warm water over top of your pellet so that it is submerged.
- The peat pellet will take about 10 minutes to fully expand, though it may take a bit longer depending on the temperature of the water. Add more water if needed.
- After expansion, place your peat pellet into the peat pot provided.
- Once placed in the pot, tear the mesh wrapping at the top slightly to create a larger opening. You may need to squeeze the peat pellet to encourage full expansion.
- Use a pencil, toothpick or your baby finger to dig four wells in the peat pellet where your seeds will be planted.
- Place each seed in a well and lightly cover it with the peat in the pellet.
- Place the pot in a warm and sunny place, like on a window sill.
- Make sure the peat stays moist; not too much or too little water.
- Once the seedlings have sprouted and are 8-9 cm tall, you can transplant the seedling(s) in the peat pot into a larger pot to create more soil volume. If you have more than one seedling, separate them to ensure enough room for them to grow. The additional soil volume (add potting soil) will ensure that the plants stay moist.
- Seedlings are ready to be transplanted outdoors in the spring when the risk of frost is over (after May long weekend in Alberta). Alternatively, you can keep growing your seedling in a larger pot and transplant it in September.
Share your seedling journey with us!
#MyProjectForestSeedling
@ProjectForest
Learn more about the forests we are planting around Western Canada.